Hello! 👋
After deploying Clawdbot securely on my Mac Mini using Cloudflare Tunnel (previous post), I decided to take the Zero Trust approach a step further: integrating the tunnel directly into my Docker stack managed with Portainer.
The goal: expose services like Portainer itself, Jellyfin, Homepage, or any web app without opening a single port on the router, without a fixed public IP, and with strong authentication via Cloudflare Access. All from just another container in my NAS/homelab.
Why This Setup in 2026?
- Cloudflare Tunnel (cloudflared) is free for personal use
- Zero Trust: only accessible with your email, WARP, or device policies
- Portainer → centralised stack management (better than loose docker-compose files)
- No dependency on VPS or complex reverse proxies like Traefik/NPM
Step 1: Create the Tunnel in Zero Trust
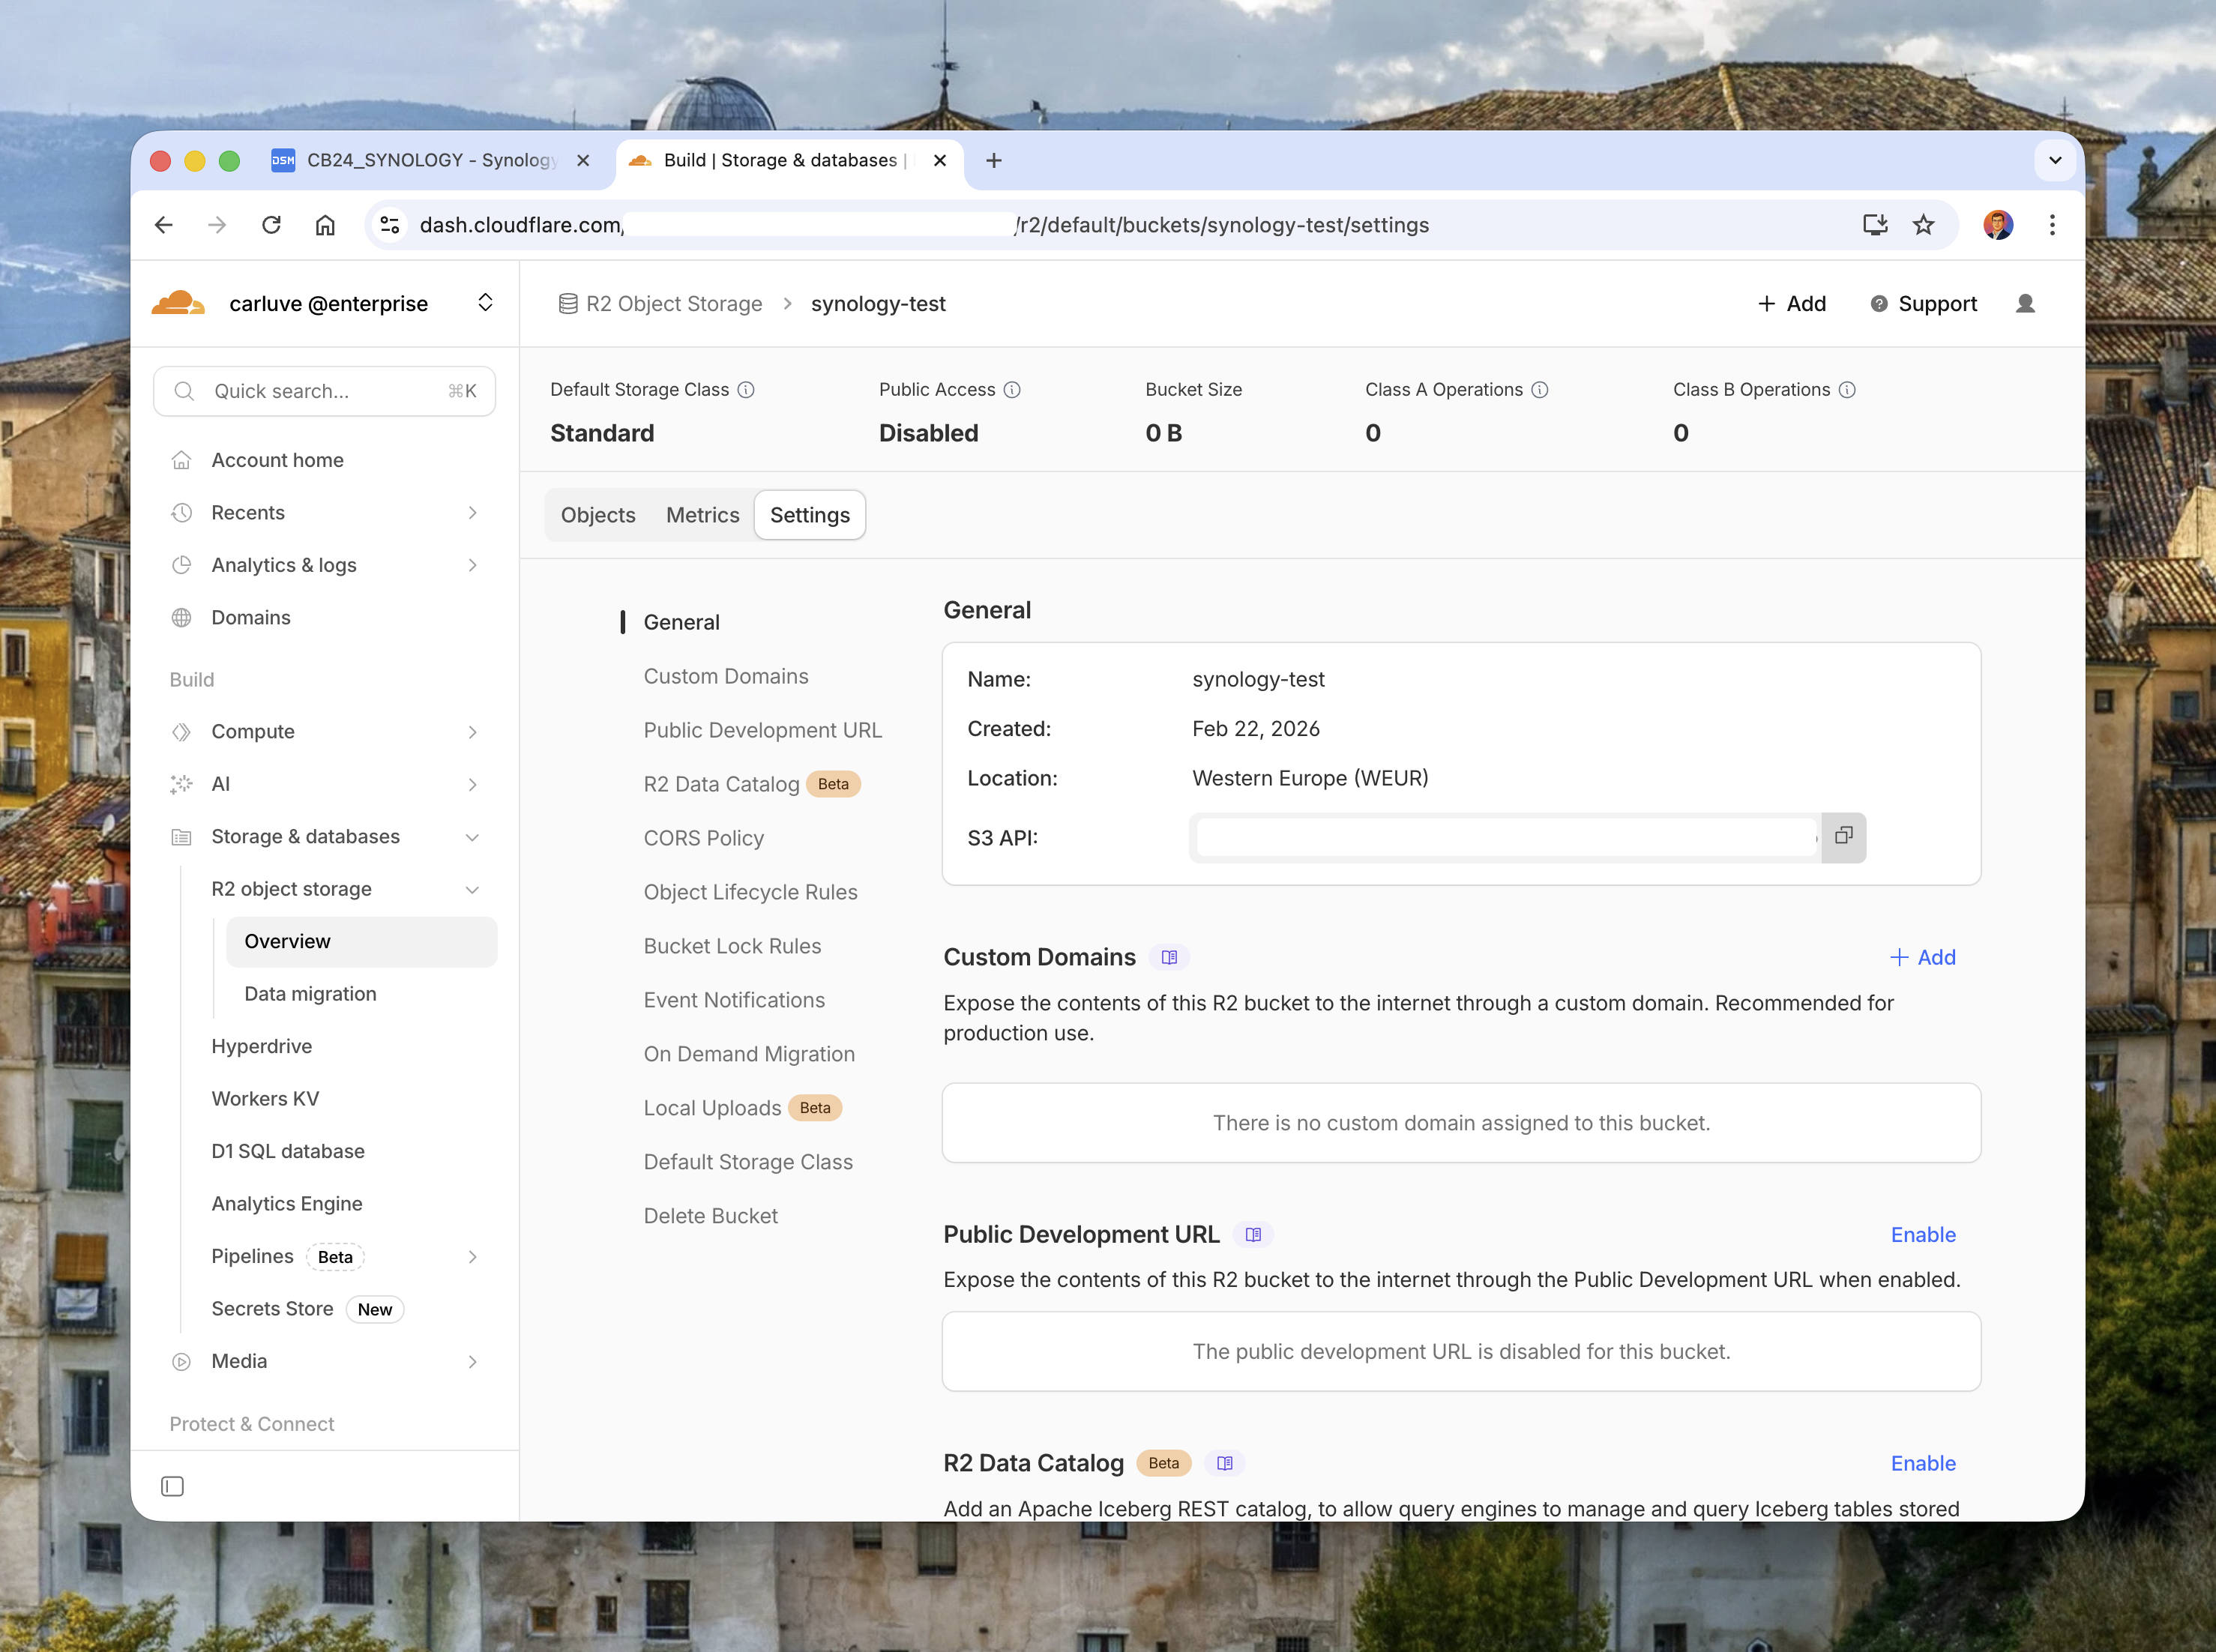
- Go to one.dash.cloudflare.com → Networks → Tunnels → Create a tunnel
- Name: e.g.
homelab-tunnel - Connector: Cloudflared (recommended) → copy the token from the command they provide (the long part after
--token)

Step 2: Stack in Portainer (recommended docker-compose.yml)
Go to Portainer → Stacks → Add stack → paste this (use Web editor):
version: "3.9"

services:
  cloudflared:
    image: cloudflare/cloudflared:latest
    container_name: cloudflared
    restart: unless-stopped
    environment:
      - TUNNEL_TOKEN=eyJhIjoi...PASTE_YOUR_COMPLETE_TOKEN_HERE...
    command: tunnel run
    # If you prefer command instead of env (less secure but simpler):
    # command: tunnel --no-autoupdate run --token eyJhIjoi...TOKEN...
💡 Tip: Store the token as an environment variable or Portainer secret for better security.
Step 3: Configure Public Hostnames
Back in the Cloudflare dashboard, add the services you want to expose:
- Go to your tunnel → Public Hostname tab
- Add hostname:
- Subdomain: e.g.
portainer - Domain: select your domain
- Service:
http://portainer:9000(use the container name and internal port)
- Subdomain: e.g.
Repeat for each service:
jellyfin.yourdomain.com→http://jellyfin:8096nextcloud.yourdomain.com→http://nextcloud:80homepage.yourdomain.com→http://homepage:3000
Step 4: Configure CIDR Routes (Optional - For Private Network Access)
If you want to access your entire home network (not just specific services) through WARP:
- Go to Networks → Routes → Add CIDR route
- Add your local network range: e.g.
192.168.1.0/24 - Give it a description like "Home LAN"

Step 5: Connect via WARP Client
On your devices (Mac, Windows, iOS, Android):
- Install the Cloudflare WARP client
- Go to Preferences → Account
- Log in with your Zero Trust team name

Now you can access:
- Your public hostnames from anywhere (with Access policies)
- Your private network IPs directly when connected to WARP
Step 6: Secure with Access Policies
Don't forget to add authentication! Go to Access → Applications:
- Create an application for each hostname
- Add a policy:
- Email: your personal email(s)
- Or: Require WARP device posture
- Or: One-time PIN via email
Example policy:
Allow if:
  - Email ends with @yourdomain.com
  OR
  - Device posture: WARP is connected
Network Architecture
┌─────────────────────────────────────────────────────────┐
│                    Your Homelab                         │
│  ┌─────────────┐  ┌─────────────┐  ┌─────────────┐     │
│  │  Portainer  │  │  Jellyfin   │  │  Nextcloud  │     │
│  │   :9000     │  │   :8096     │  │    :80      │     │
│  └──────┬──────┘  └──────┬──────┘  └──────┬──────┘     │
│         │                │                │            │
│         └────────────────┼────────────────┘            │
│                          │                             │
│                 ┌────────┴────────┐                    │
│                 │   cloudflared   │                    │
│                 │   (container)   │                    │
│                 └────────┬────────┘                    │
└──────────────────────────┼──────────────────────────────┘
                           │ Outbound only (no open ports!)
                           ▼
              ┌────────────────────────┐
              │   Cloudflare Network   │
              │     Zero Trust Edge    │
              └────────────┬───────────┘
                           │
              ┌────────────┴───────────┐
              │                        │
    ┌─────────▼─────────┐    ┌────────▼────────┐
    │  Public Access    │    │   WARP Client   │
    │ (with CF Access)  │    │ (private IPs)   │
    └───────────────────┘    └─────────────────┘
Troubleshooting
Container won't start?
- Check the token is complete (they're very long!)
- Ensure no extra spaces or line breaks in the token
Can't reach services?
- Verify the service name matches the container name in Docker
- Check the internal port (not the mapped host port)
- Ensure containers are on the same Docker network
WARP not connecting to private IPs?
- Verify the CIDR route is configured
- Check the tunnel is healthy in the dashboard
- Ensure "Include" mode is set for your private IP range in WARP settings
Conclusion
With this setup, you get:
✅ No open ports on your router
✅ No public IP required
✅ Strong authentication via Cloudflare Access
✅ Encrypted traffic end-to-end
✅ Centralised management via Portainer
✅ Free for personal use
The best part? If your ISP changes your IP or you move house, everything keeps working. The tunnel is outbound-only, so your homelab finds Cloudflare, not the other way around.
Happy self-hosting! 🏠🔐